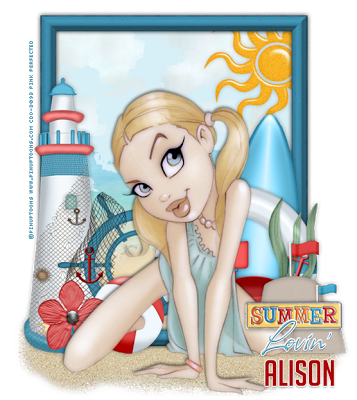
This tutorial is my own creation and any similarity to any other tut is merely coincidental.
Please do not copy and paste anywhere else and link back to my blog.
This tut was written by me July 2nd, 2013.
This tutorial was done using Photoshop CS5
Supplies needed are as follows:
Surf's Up kit used by Bev at Horseplay's Pasture Designs found HERE
I also used Paper 3 from Ocean Breeze FTU Scrapkit by Mirella
Note: She has deleted her kit sorry. Find an alternate beach like paper.
or you can use any beach/water type background you have.
Sand which I've zipped for use HERE
Font used: Big Noodle Titling
Allison ROB or Alex Brush
You can find Big Noodle Titling font HERE
Tube of choice is from CDO- Pinuptoons
This is tube 133-2 . She can be purchased HERE
Filters used: Xero Porcelain,
Take Frame hpd_SU_EI9 and add a slight dropshadow.
Take your beach scene paper and place it under your frame.
Remove all of the outside edges that show outside of the frame.
Find the same elements I used and place them the way you want them on the frame.
Feel free to change it up and make this tag your own.
Now add your tube. Add some dropshadow and Xero Porcelain to your tube.
Open up the sand I supplied.
Make duplicate copies of the sand.
On one copy go to:
Edit>Transform>flip vertical.
Click on both sand layers to merge them together.
Make sure nothing else is highlighted when you're merging.
Place the sand under the frame and all of your elements.
You can choose to add a mask under or not. I chose not to.
That's pretty much it :)


Thank you for your tut--quick, easy to follow and adorable!!! :-)
ReplyDelete